Keel Bulb section test mold
- captdan
- Aug 26, 2020
- 1 min read

So I had some limited success with the first mold which I made really quick just to see how the lead would melt and pour. The wood dowel was wrapped in parchment paper to resist the lead from sticking - that part worked well !
The second mold that I made was an actual section of what would be the largest diameter of the bulb that has a hole through it with the counterbore for the bolt head or the nut. You can see in the photo that the radius isnt that nice because what I was focusing on was whether I could pour the shape of the mold, the 13mm hole and the 30mm diameter counterbore all in one shot.
I used "Plaster of Paris" as my mold medium. I'm not sure why it is called that but maybe someone from France could comment on that in the "builder blog"
It dried for a few days to make sure there was no moisture left in it.
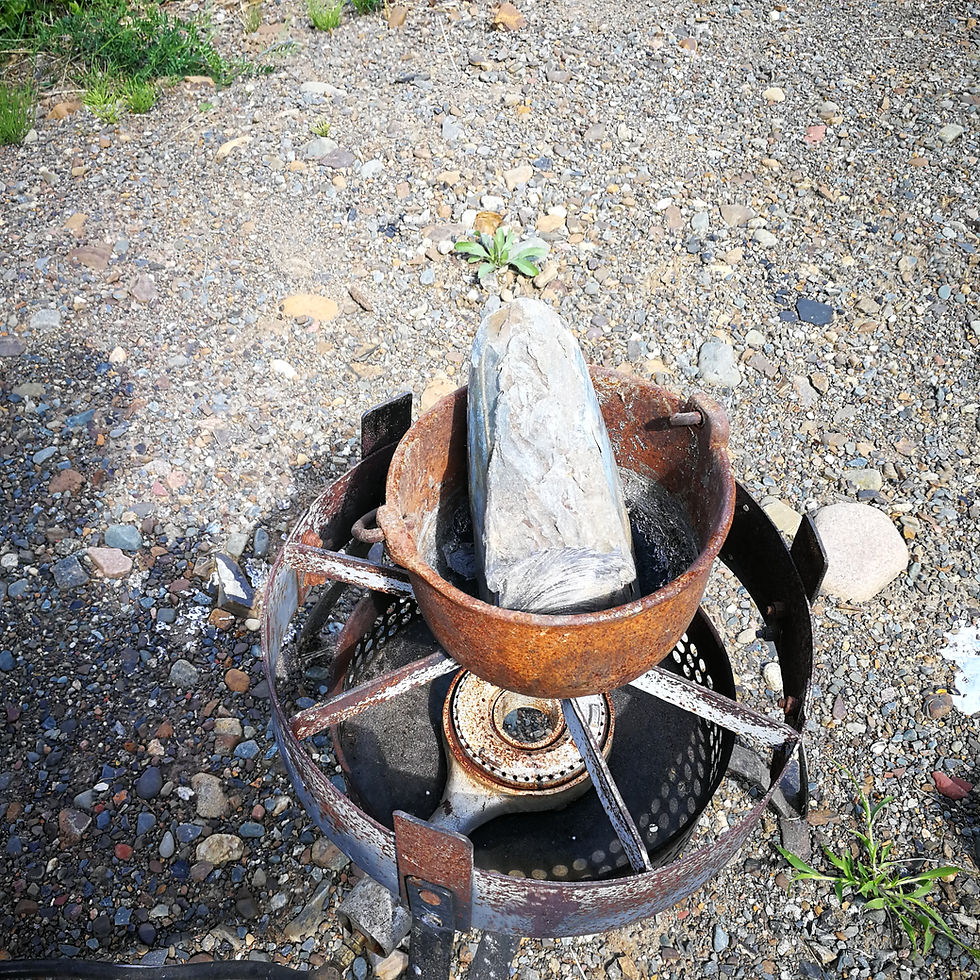
Chunks of lead ready to take another form ....
Mold # 1
160mm diameter section of the bulb in the mold
Plaster poured and then the lead was poured in.
The result was a success as I wanted to see how the hole and counterbore was going to turn out. All good.
In the photo you can see that the lead needed to be a bit hotter when I poured as the layers can be seen.
Here is a video of some of the process


Comments